Nested Nsx Vmware Nsx on Intel Nuc Lab Setup Part 1
While the VMware Hands-on Labs are extremely cool and useful, I found it always very learning-full and nonetheless fun to build my own labs. To keep it fun and keep down the noise and powering costs I decided to buy some Intel NUCs, which have a good price tag and are very low on energy. Last couple of months I’m very interested in VMware NSX and it is time to try-out running this in my own Lab and on one Intel NUC, which means not much resources but I’m wondering if it can be done and hopefully work well enough to play around. In the next coming posts I will show you the steps I take to get things working, so you can follow me on this journey. This first part will concentrate on how to get the nested environment up & running. One of the biggest downsides of the Intel NUC is that it only has one NIC, which makes it difficult to run all needed parts and another caveat is that chances are that you will lock-out yourself. Luckily ESXi can run itself, we call this a nested environment. Below you see a very abstract picture about the set-up we are going to create. As you can see I choose to let the nested ESXi servers interact directly with my NAS (Synology), mainly to save resources and time. If you want a complete nested and virtualized environment including storage you are of course free to do so.
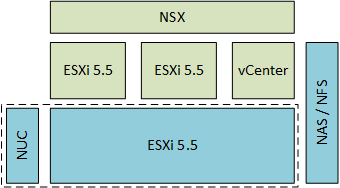
The blue components are the more physical parts of this environment and the actual lab is more located at the green components. I assume you have already running ESXi on your Intel NUC (or other system), if not below two good links to get you started.
- http://www.virten.net/2013/12/vmware-vsphere-homeserver-homelab-esxi-on-4th-gen-intel-nuc/
- http://www.tekhead.org/blog/2013/01/nanolab-running-vmware-vsphere-on-intel-nuc-part-1/
When you have ESXi running on your NUC, we can create a nested environment on it. I will start small, cause I have no idea, how the NUC will handle the load and it will be easy to add another node in the feature (also a good test case). How to create nested ESXi servers isn’t new, but I will cover shortly how I’ve done it. A small note lots of older blogpost write about the vhv.enable feature, this isn’t necessary in ESXi 5.5 cause it will be set to true by default.
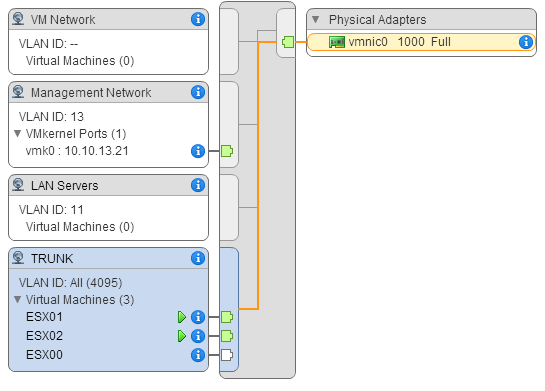
Network
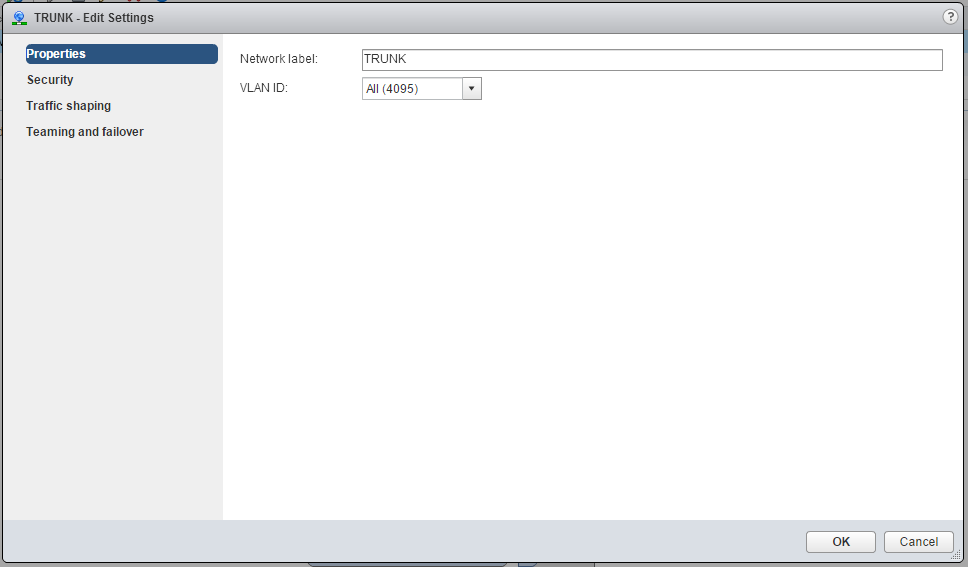
This has nothing to do with NSX yet, but it will enable our nested hosts to communicate with the outside world. We are going to create a TRUNK port-group, so that we can use in the future different VLANs to segment the traffic, this however requieres that the connected physical switch also supports VLANs. Don’t worry if not, than this all will probably still work, however I didn’t tested it. Go to the host, networking configuration and add a port-group, with the following settings.
- VLAN ID: ALL (4095)
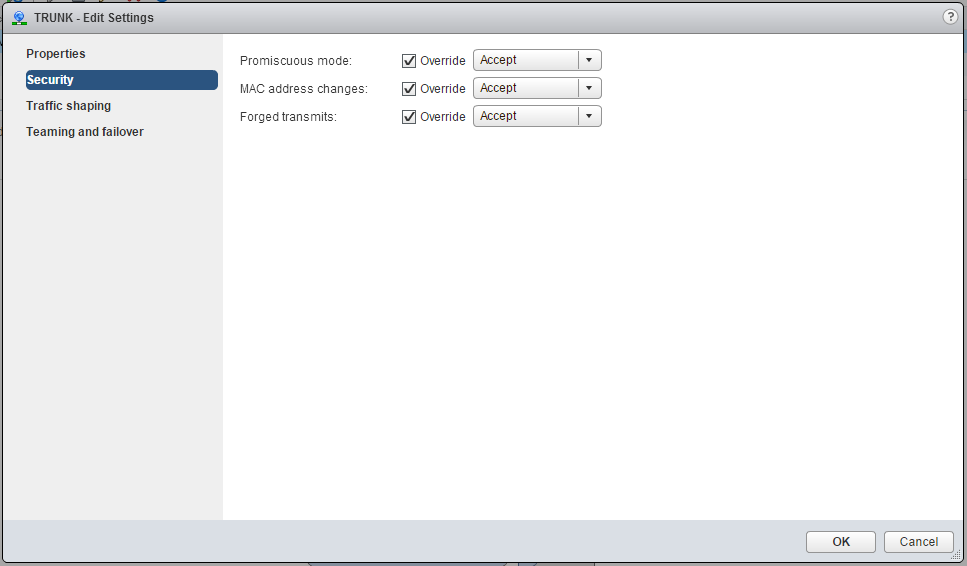
- Security - Promiscuous mode: Override Accept
- Security - MAC address changes: Override Accept (optional)
- Security - Forged transmits: Override Accept
Nested ESXi servers
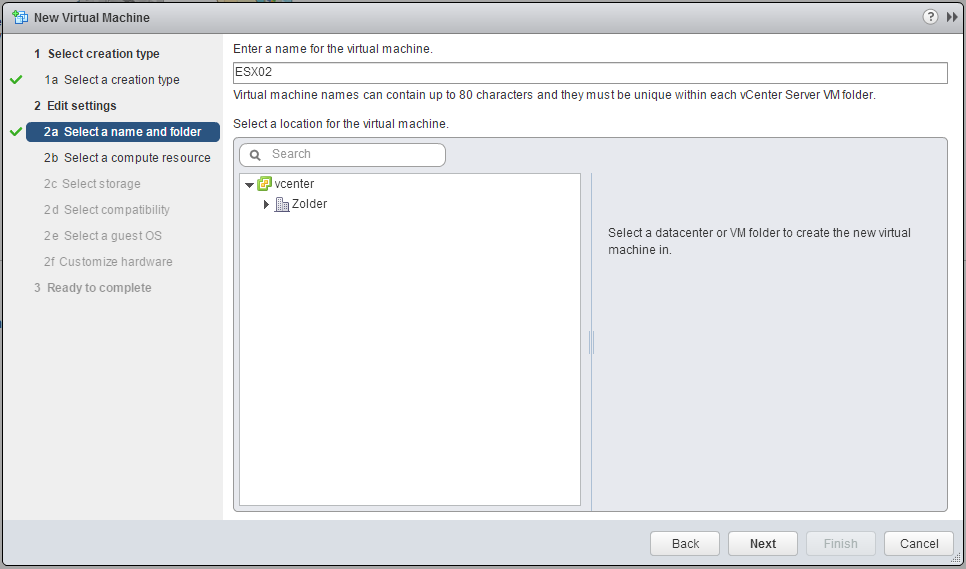
Deploy a new VM, I have my ESXi connected to a vCenter environment, this is not the vCenter we will discuss later and is running on another NUC. So I will use the web interface. The steps taken can also be done on the traditional GUI, the only difference will be the HW version, 10 for the WUI and 8 for the GUI. Use the following settings:
- Pick a VM name, for the sake of simplicity I use “ESX01” and “ESX02”
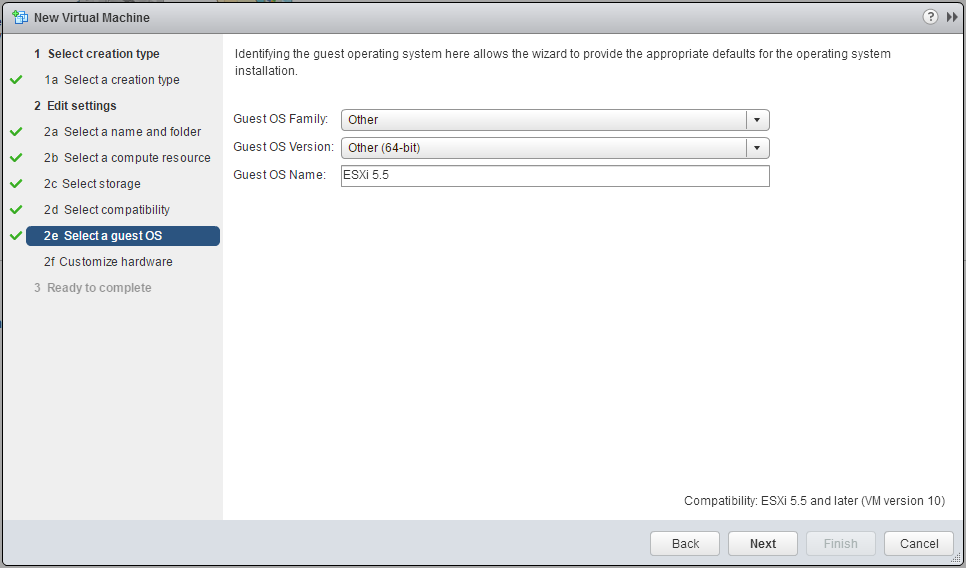
- OS Family: Other
- OS Version: Other (64 bit)
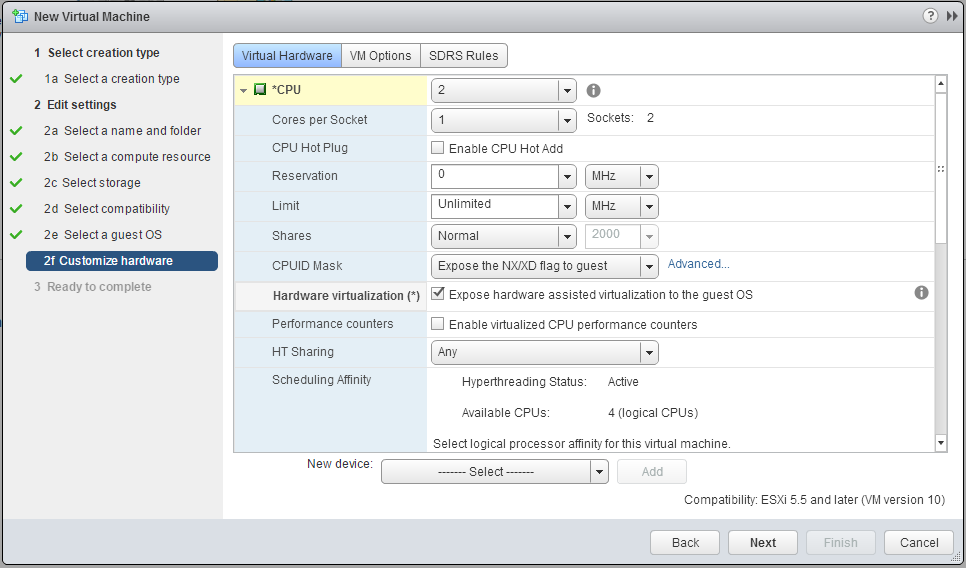
- CPU: 4 (I started of with 2, but quickly changed to 4, needed for some componentens (i.e. Controllers))
- CPU - Harware virtualization: Enable
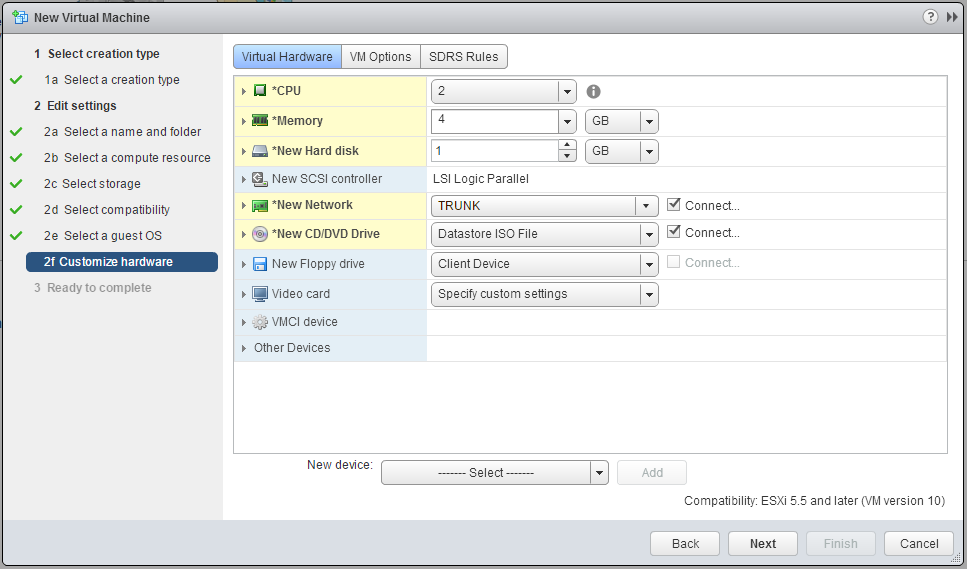
- MEM: 4 GB (enough to get started) (In part 2 I increased the memory of the ESX02 to 8GB)
- HD: 1GB
- Network: Trunk port-group (1 nic is enough to get started)
- CD: Mount the ESXi installer
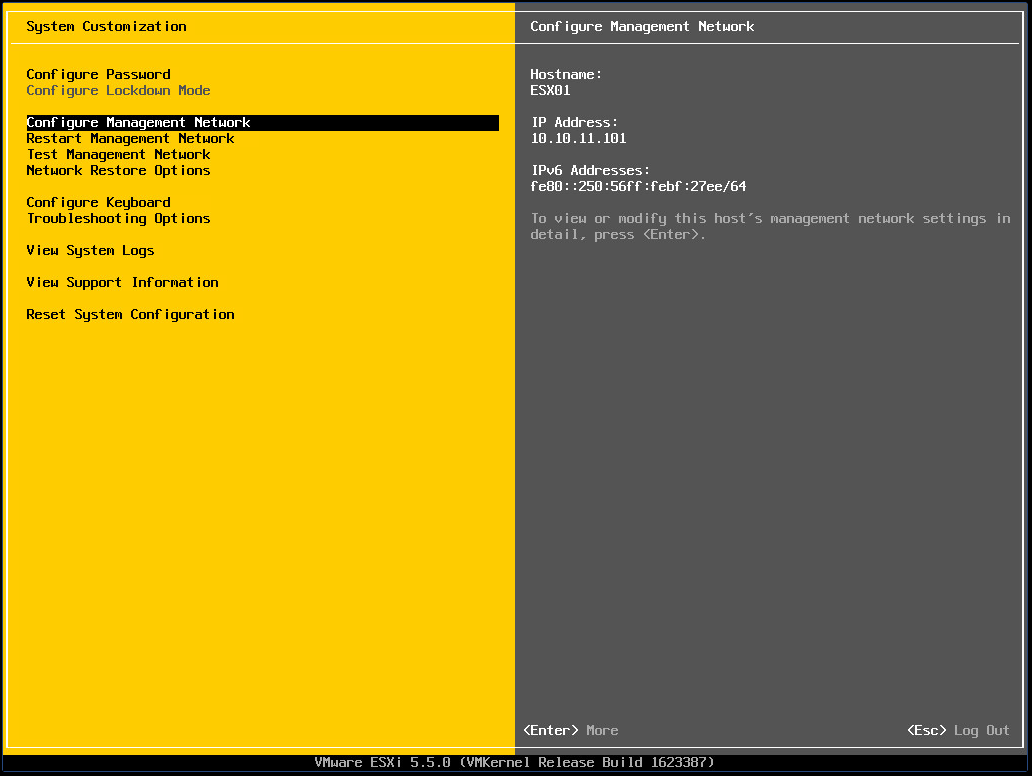
Now we created the VM, we can boot it up and start the installation, which is really a next, next finish job. When the installation is done, this can take a several minutes we start configuring the host. Open the console and press F2 and after entering your password go to “Configuring Management Network”. If you have a trunk port, don’t forget to enter the VLAN ID. Give the host an IP address, subnet, gateway and optionally for now some DNS settings. For me the IP’s are.
- ESX01 IP: 10.10.11.101/24
- ESX02 IP: 10.10.11.102/24
- Gateway: 10.10.11.1
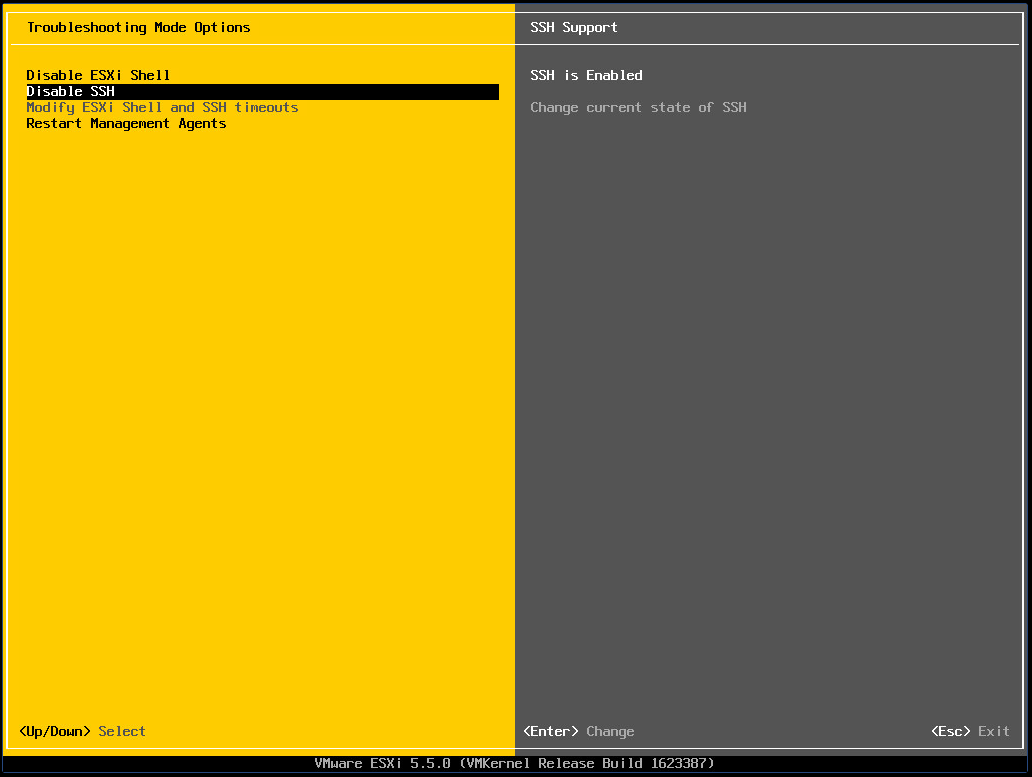
Since this is a lab environment I will enable the SSH console, you can do this under “Troubleshooting Options”.
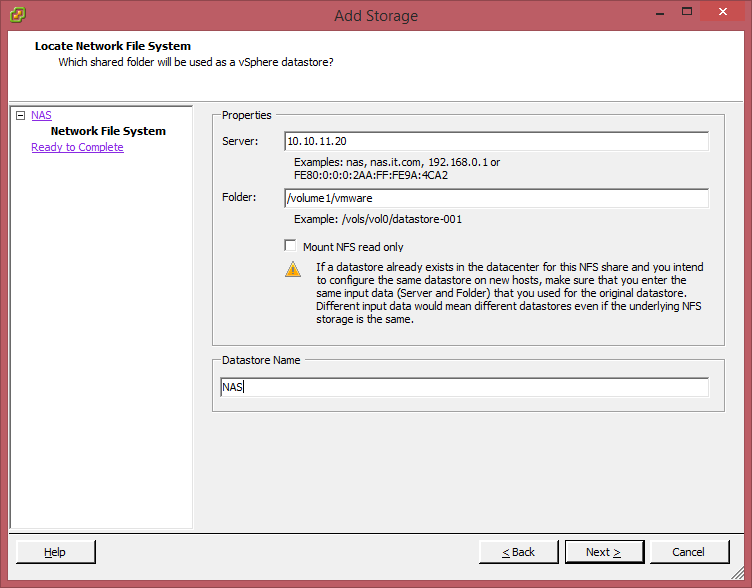
Before you exit the console test if you can reach the host, a simple ping test would be sufficient. The last thing we will need to do for now on the new hosts is adding the storage. For me this is a simple NFS share on mine Synology. Go to the host, storage configuration and add the NFS storage.
Before continuing, make sure both hosts are deployed, have storage and are reachable.
vCenter
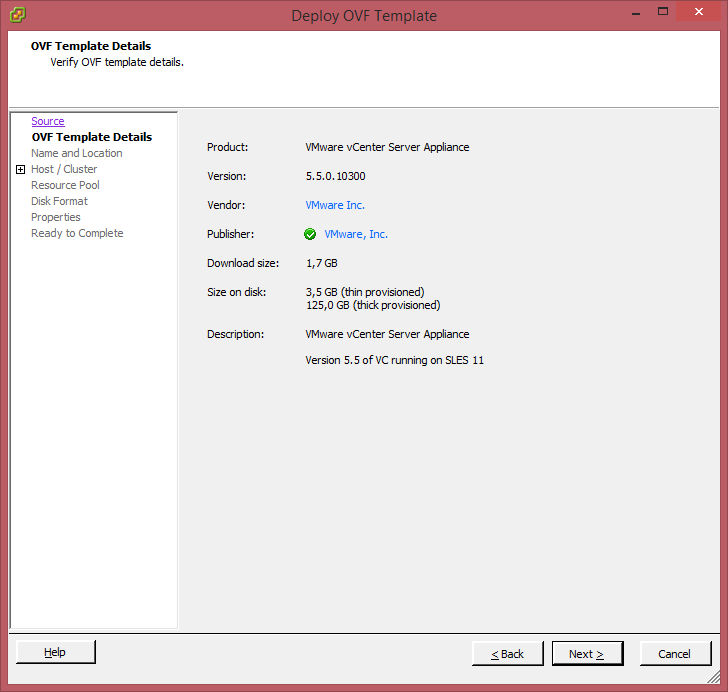
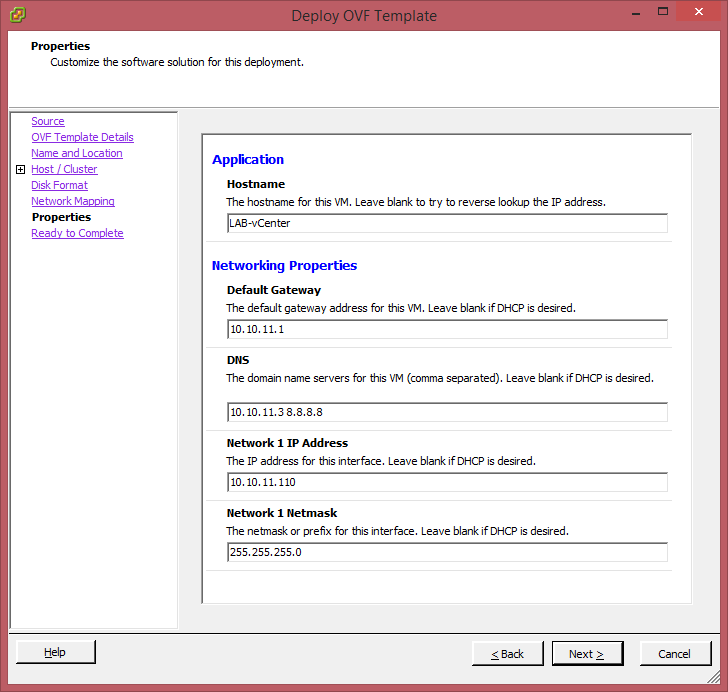
The last part of this post is about deploying the vCenter appliance, which is sufficient, for running NSX. Deploy the vCenter 5.5 OVF, I used the following settings.
- Name: LAB-vCenter
- IP: 10.10.11.110/24
- GW: 10.10.11.1
(Since the last Chrome update, the vCenter plugin is broken, didn’t fixed it yet)
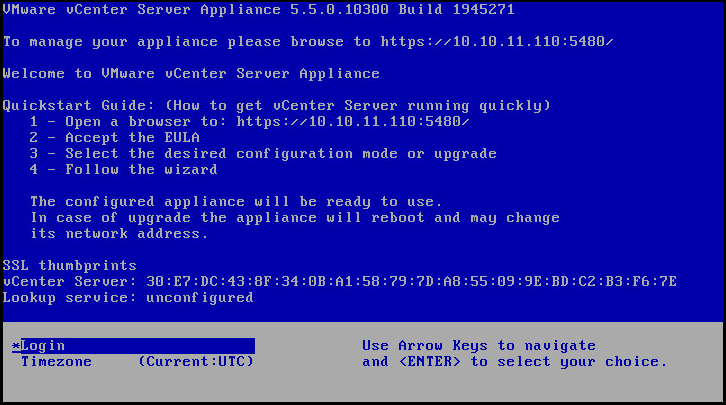
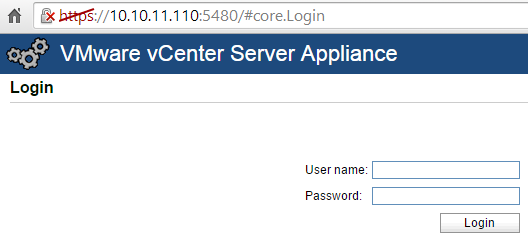
After the OVF is deployed I decreased the memory to 4GB, which is in my experience enough for a fluent experience in a LAB environment. Start the vCenter VM, as you can see on the console, you should be able to access the initial configuration on https://IPAddress:5480 and login with the default username “root” and password “vmware”.
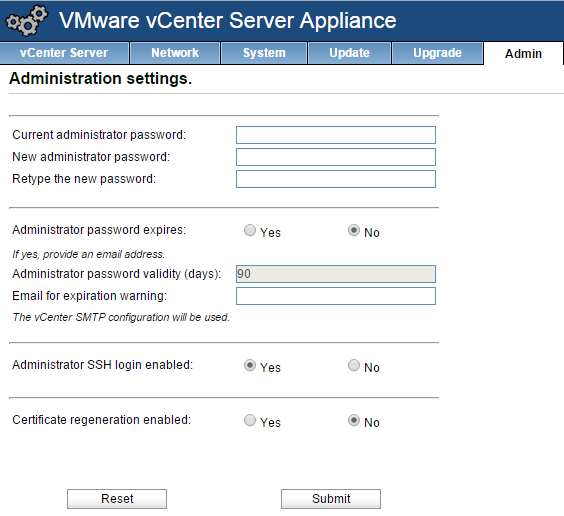
After logging in, accept the license (of course first read it). I choose for “configure with default settings”, after clicking next and start, it will configure itself, but this will take a while. When the configuration is done, the last change I make on the configuration is that the password of the admin will not expire.
Now we are done we can actuale access the vCenter interface by going to https://IPaddress:9443/vsphere-client
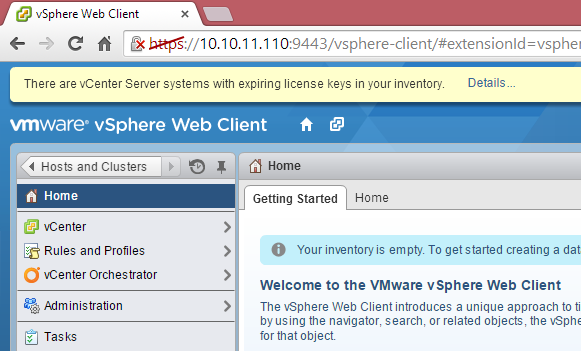
We don’t worry about license keys for now, so you can simply ignore this message or close it by clicking the cross sign on the right. Go to vCenter and click on hosts and clusters. Now we start by creating a new Datacenter. Click on “Create datacenter” and if you want give it a name, you can also leave it default “Datacenter " and click ok. Now we are going to create two clusters, called;
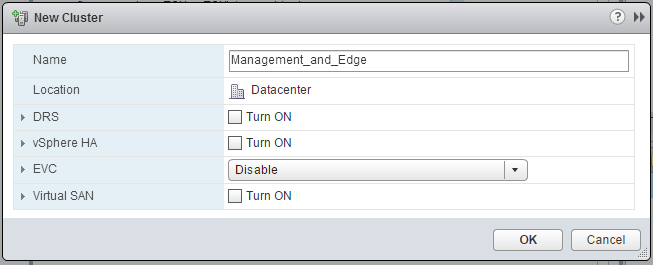
- Management_and_Edge
- Compute
Click on create cluster and give it the desired name, we can leave HA and DRS off. You can create the second cluster by right clicking on the Datacenter. When both clusters are created we need to add the ESX hosts to the appropriate cluster. We add ESX02 to the Managment & Edge cluster and the ESX01 to the Compute cluster.
Right click on the cluster and select “Add Host”. Fill in the IP of the host, on the next page the username and password of that specific Host, leave the other settings default.
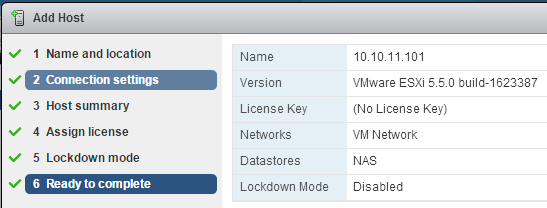
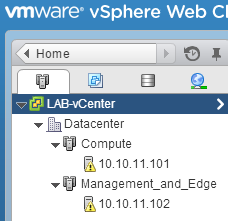
Do this for both hosts, when you have done this, your environment should look as follow.
For now we are done, we have setup a basic nested environment on which we will go install and configure NSX. When you are bored and can’t wait for the next post or just want to optimize your environment, consider the following actions, these are all optional and not necessary to install NSX, also these steps can be taken on a later time.