Monitoring Your X86 Synology With Monit
First of all, I’m not very familiar with Monit at all, but I was looking for a simple monitoring solution which monitors, alerts and eventually can restart a service if it fails. So today I stumble upon Monit which was exactly I was looking for. It generates a simple dashboard and does exactly what I wanted it to do. After messing around with it for a couple of minutes I had a working dashboard on a Debian system which monitored a couple of services.
I also have Synology NAS which runs a couple of services, which should be up 24/7, unfortunately sometimes a service fails and it is possible I noticed it a little late, i.e. after a couple of hours.
So I thought why not install Monit on the Synology, I have a DS1010+, which has a plain old x86 Intel CPU, so compiling and running it shouldn’t be that hard even better it turns out they have a lots of compiled versions at their website for download.
So let’s start.
First of all download the right version (Linux x86) of the website and unpack it. Now we have to copy te content to the different locations, Linux users can use SCP, for Windows users, the easiest way is to put the unpacked folder on a share of the Synology. I putted on “\mynasUploads”.
Start an SSH session ( Putty) and login with root and your password.
First let’s copy the binary to “/usr/local/bin” and copy the default config file to /etc/monitrc.
> cp /volume1/Uploads/monit-5.5/bin/monit /usr/local/bin
>
> cp /volume1/Uploads/monit-5.5/conf/monitrc /etc/monitrc
Now we have to edit the monitrc so we can access the dashboard and make a directory the default directory for configuration files, I like to keep them seperated.
You can edit monitrc on Windows with notepad++ and then copy it again or use vi on the Synology.
vi /etc/monitrc
Press “ins” to enter insert mode and seek and change the following lines.
> set httpd port 2812 and
>     use address localhost    # only accept connection from localhost
>     allow localhost               # allow localhost to connect to the server and
>     allow admin:monit         # require user 'admin' with password 'monit'
>     allow @monit                 # allow users of group 'monit' to connect (rw)
>     allow @users readonly  # allow users of group 'users' to connect readonly
and change them, don’t forget to change the subnet if you use another range then 10.0.0.0/8.
> set httpd port 2812 and
>     allow 10.0.0.0/8
>     allow admin:hardpassword
Quit “vi” bij pressing escape and type “:wq”, which stands for write and quit.
Change the permissions of the monitrc file
> chmod 0700 /etc/monitrc
and finally start monit
> /usr/local/bin/monit
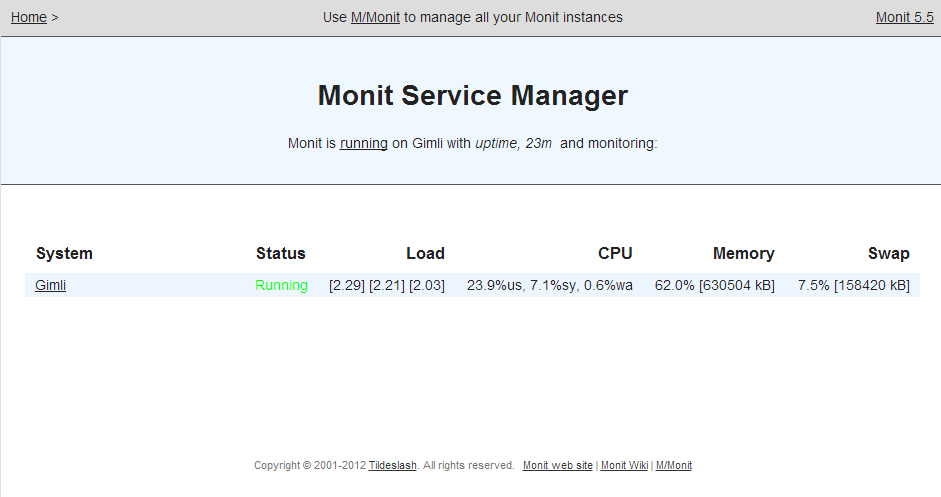
Go to your webbrowser and go the url http://yournas:2812 and login, you should see something like the picture below.
If this works, we can make it more interesting by adding the services or filesystem information.
Let’s make a directory for the config files and add this directory to the monitrc file.
> mkdir /etc/monit
>
> echo “include /etc/monit/*” >> /etc/monitrc
Now we only need something to monitor, for example Cloudstation.
Start vi.
> vi /etc/monit/cloudstation
and add the following lines.
> check process cloudstation with pidfile /var/run/synosyncfolder.pid
>         start program = "/var/packages/CloudStation/scripts/start-stop-status start"
>         stop program = "/var/packages/CloudStation/scripts/start-stop-status stop"
This will check if Cloudstation is running and if it isn’t, it will automatically restart the service.
To load the new config file, restart monit.
> killall monit
>
> /usr/local/bin/monit
Monit has a lot more possibilities and the documentation is good, so I would say knock yourself out.
This post was just to get you started, there are still somethings on my todo list, like create an init script and maybe create a package for it.